What Does Medical Marijuana Look Like?
Medical marijuana typically comes in different forms, and understanding what it looks like is important for those who are considering using it. While the most common form is dried flower buds, medical marijuana can also come in oil and pill form as well. All of these forms are available in different amounts, depending on the individual’s needs and the recommendation of their medical provider. Knowing what medical marijuana looks like can help patients make the most informed decision about their treatment.
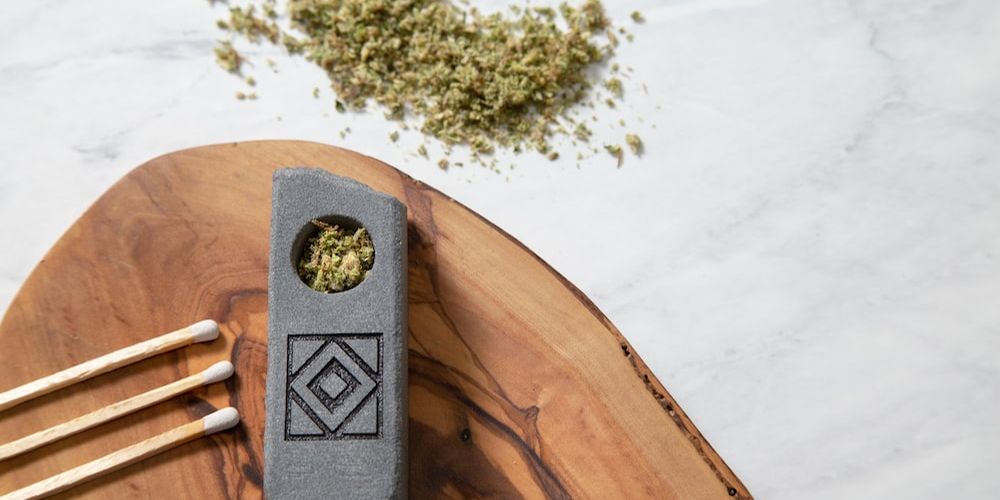
Dried flower buds
Dried flower buds are the most common form of medical marijuana and are typically dried and crushed. You can use them to make various medical marijuana products such as edibles, oils, and tinctures. You can also smoke or vaporize the buds.
Smoking is the quickest way to get the medicinal benefits of marijuana, however, vaporizing is a safer option that doesn’t create carcinogenic compounds. When choosing to consume marijuana in this form, it is important to consider the strain and THC content of the flower buds. It is important to speak with a medical professional as to which strain would be right for you and your symptoms.
Oil
When it comes to medical marijuana, oil is often a preferred option as it is one of the easiest and most effective ways to consume medical cannabis. The good thing about using medical marijuana oil is that it is discreet and convenient, plus it is easy to modify the dosage levels.
When using the oil, the effects are not as harsh as smoking, making it a better choice for those who don’t want to experience the full intensity of smoking marijuana. With oil, you can choose from different flavors and strain options, so you can customize your medical marijuana experience. When using medical marijuana oil, it is important to make sure you are using a high-quality product, as the quality of the oil can vary significantly.
Some products may contain contaminants or not have much active cannabinoid, which can affect its effectiveness. Be sure to research the manufacturer and read reviews to ensure you are getting the best quality product. It is important to discuss the use of the oil with your healthcare provider and get their opinion on dosage and any potential side effects.
Pill
Pills are one of the most popular forms of medical marijuana due to their convenience and ease of use. They are simply swallowed, with the marijuana being absorbed into the bloodstream through the stomach and intestines.
The effects of the drug can be felt within minutes and last for a few hours. While there are pros and cons to all forms of marijuana, pills are generally considered to be a more direct and discreet method of consumption. Another advantage of taking pills is that the dosage is pre-measured, so you don’t need to worry about overdoing it.
On the downside, the effects don’t last as long as other forms of marijuana, and the dosage cannot be adjusted. If you’re looking for a more consistent and predictable experience, pills may be the way to go.
Conclusion
Medical marijuana is a powerful tool to help with a variety of medical conditions. It is important to understand what medical marijuana looks like so you know what to expect when consuming it. Medical marijuana is either in the form of dried flower buds, oil, or pills.
Dried flower buds are the most common form of medical marijuana and are easy to find. Oil can also be found in medical dispensaries and is sometimes used to make edibles.
Pills are the least common form of medical marijuana but can be found in some medical dispensaries.
It is important to talk to your doctor before using medical marijuana. Your doctor can help determine what form of medical marijuana is best for your situation and can work with you to ensure you are using it safely. It is important to always purchase your medical marijuana from a reputable source to ensure its quality and safety. With the right information and help from your doctor, you can use medical marijuana to its fullest potential.